
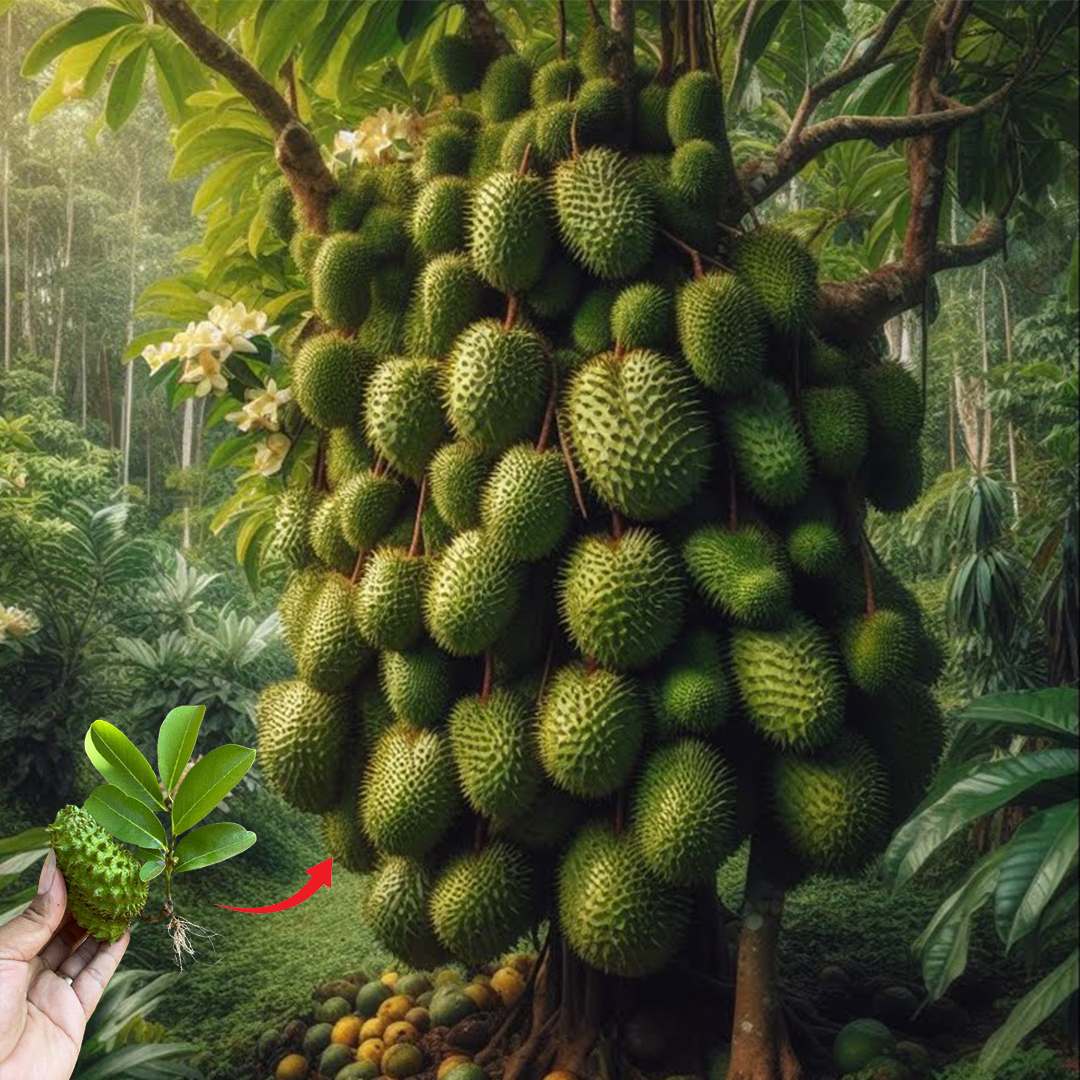
How to Grow Soursop Tree from Cuttings: A Complete Guide
Soursop, also known as Graviola or Annona muricata, is a tropical fruit tree known for its large, spiky green fruit with soft white flesh and a unique sweet-sour taste. While most people grow soursop trees from seeds or grafting, growing them from cuttings is a lesser-known but effective method when done correctly. In this guide, you’ll learn step-by-step how to successfully grow a soursop tree from cuttings, including preparation, propagation, care, and maintenance.
Why Grow Soursop from Cuttings?
Growing soursop from cuttings has several advantages:
- Faster fruiting: Unlike seed-grown trees that may take 4–5 years, cuttings can bear fruit in 2–3 years.
- True-to-type plants: Cuttings produce genetically identical clones of the parent tree, ensuring the same fruit quality.
- Cost-effective: You can propagate multiple trees from a single healthy soursop plant.
Step 1: Choose a Healthy Mother Plant
Start by selecting a mature and healthy soursop tree that has already produced quality fruit. Make sure the plant is:
- Free from disease or pests
- At least 2–3 years old
- Well-established and actively growing
This will increase the chances of rooting success and ensure strong new growth.
Step 2: Take the Cuttings
Use clean, sharp pruning shears or a knife to cut semi-hardwood branches—these are branches that are not too young and soft or too old and woody.
- Cutting length: 8 to 12 inches (20–30 cm)
- Thickness: About the size of a pencil
- Nodes: Each cutting should have at least 3–4 nodes (leaf joints)
- Time of day: Early morning is best when the plant is well hydrated
Remove all but 2–3 leaves from the top of the cutting to reduce water loss through transpiration.
Step 3: Prepare the Cuttings
To increase rooting success:
- Dip the cut end in a rooting hormone powder or gel (optional but highly recommended).
- Let the cuttings air dry for 1–2 hours in a shady area to reduce the risk of rot.
- Optionally, scar the base of the cutting lightly to expose more cambium layer, which may enhance root formation.
Step 4: Plant the Cuttings
Use a well-draining potting mix. A good rooting medium consists of:
- 50% coconut husk or peat moss
- 25% perlite or sand
- 25% compost or worm castings
Steps:
- Fill a pot or nursery bag with the mix.
- Make a hole and insert the cutting about 2–3 inches deep.
- Firm the soil around the cutting.
- Water lightly to moisten the mix, but avoid waterlogging.
Place the pots in a shaded and humid area or inside a mini greenhouse if possible. Maintain consistent moisture.
Step 5: Provide Proper Growing Conditions
Cuttings will need the right environment to root:
- Humidity: 70–90% humidity helps prevent drying out
- Temperature: 24–30°C (75–86°F) is ideal
- Shade: Bright indirect sunlight or filtered light
To maintain humidity, cover the cuttings with a clear plastic bag or use a humidity dome. Make sure the cover does not touch the leaves.
Step 6: Monitor for Rooting
Rooting may take 4–8 weeks depending on conditions. Signs of rooting include:
- New leaf growth from the top
- Resistance when you gently tug the cutting
- Roots visible through the drainage holes (if in pots)
Be patient and keep the medium moist but not soggy. Remove any cuttings that show signs of rot.
Step 7: Transplanting the Rooted Cuttings
Once roots are 2–3 inches long and new growth is visible, it’s time to transplant your soursop plant to a larger pot or directly into the ground.
Soil:
- Rich in organic matter
- Well-drained
- pH between 6.0–7.0
Spacing: If planting outdoors, give at least 10–15 feet of space between trees.
Watering:
- Keep the soil evenly moist
- Avoid overwatering, especially during the first few months
Step 8: Ongoing Care for Young Soursop Trees
- Sunlight: After transplanting, gradually introduce your tree to full sun.
- Watering: Water 2–3 times per week, depending on weather.
- Mulching: Use straw or leaves to retain soil moisture and reduce weeds.
- Fertilizing: Use organic compost or a balanced fertilizer every 6–8 weeks.
- Pest control: Watch out for aphids, scale insects, and mealybugs. Neem oil or insecticidal soap works well.
- Pruning: Trim weak or crossing branches to encourage a strong central trunk.
Step 9: Flowering and Fruiting
Soursop trees typically flower 2–3 years after planting from cuttings. The flowers are yellow-green and often pollinated by hand to ensure fruit set.
- Pollination: Since natural pollinators are rare, hand-pollinating with a small brush can increase yield.
- Fruit maturation: Soursop fruits take 3–5 months to ripen after pollination.
Final Tips
- Always use healthy and disease-free parent plants.
- Keep the cuttings in a humid environment until rooting occurs.
- Be patient—propagation takes time, but the result is worth it.
- Once your tree is established, it can produce delicious soursop fruits yearly for many seasons.
Conclusion
Growing soursop trees from cuttings may require more care than seeds, but it’s a rewarding process. With the right technique, a little patience, and consistent care, you can enjoy your own homegrown soursop tree in just a few years. Whether you’re growing it for its delicious fruit or its traditional medicinal uses, a soursop tree is a valuable addition to any tropical garden.