Easy and Fast Technique for Planting and Growing Sapodilla Bub Trees Using Stem Grafts
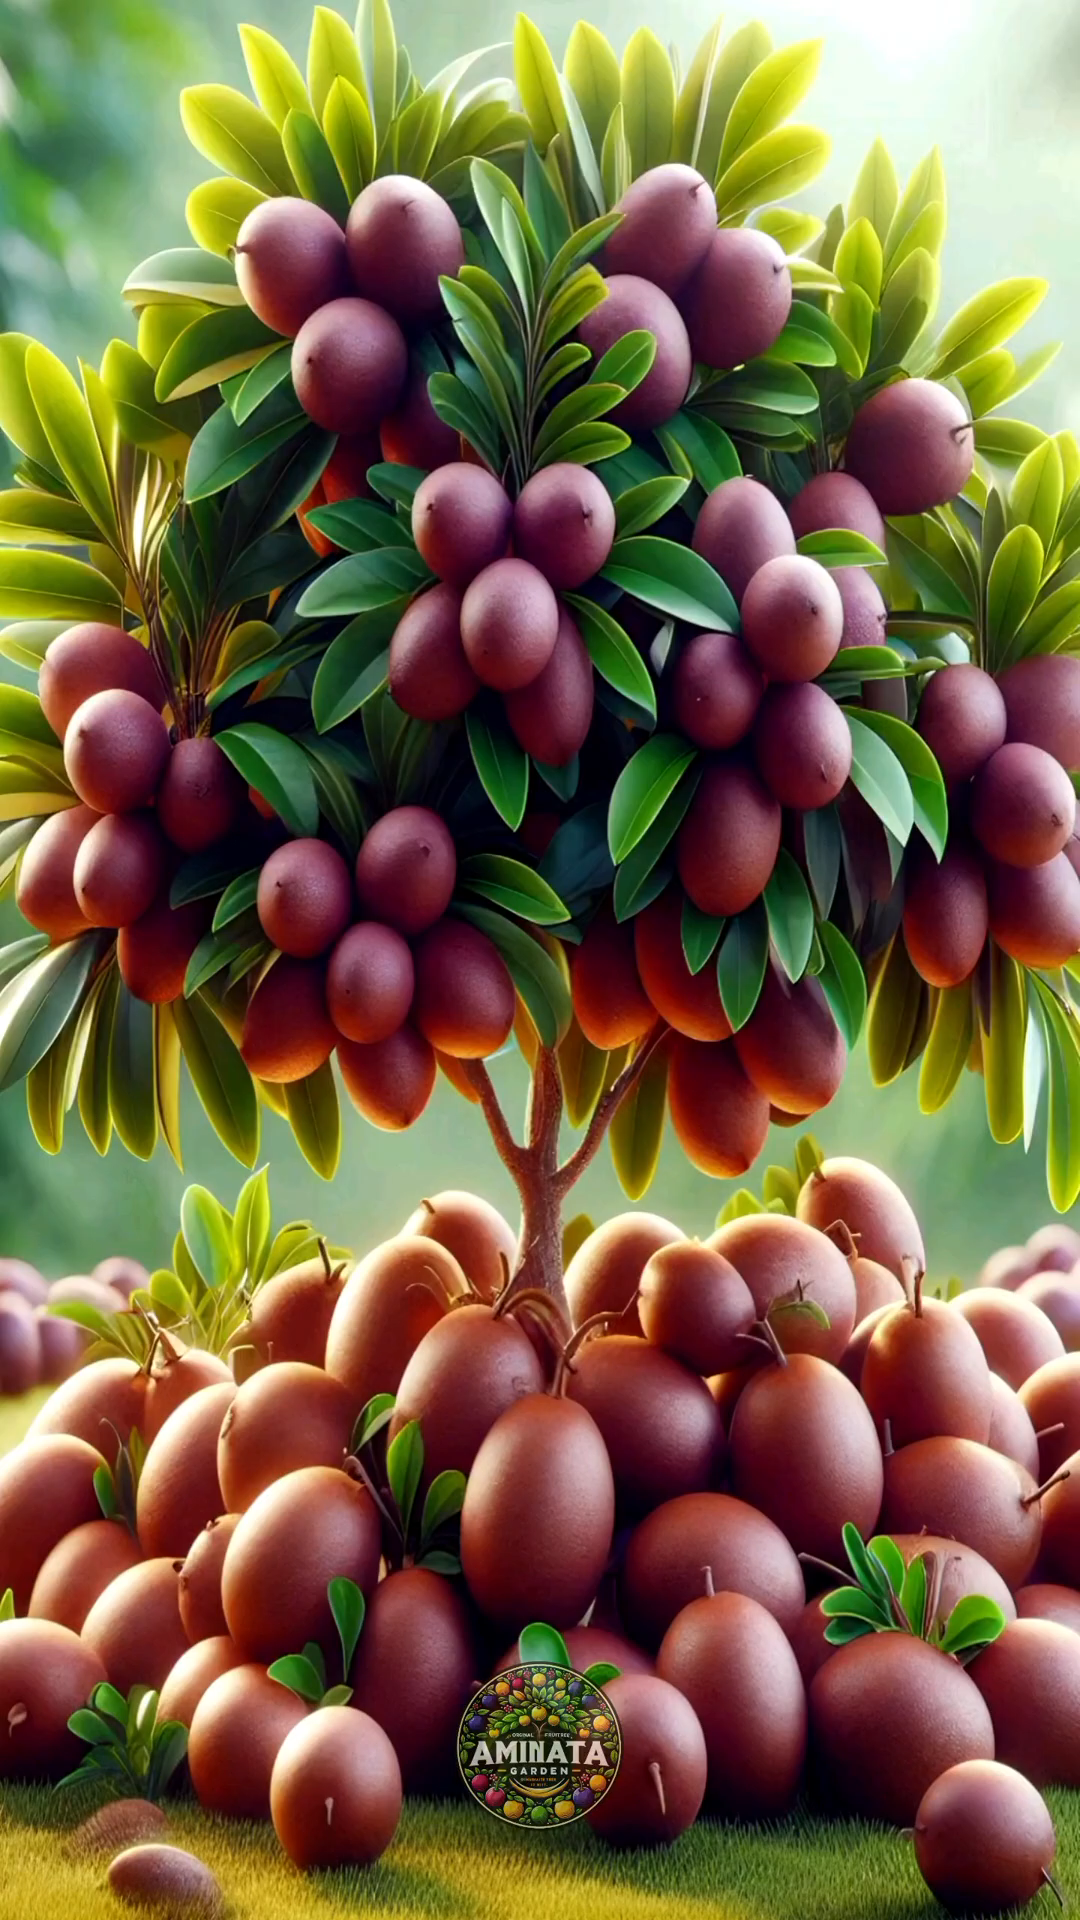
The sapodilla, also known as “chiku” or “bub,” is a sweet tropical fruit cherished for its caramel-like flavor and smooth texture. Families with home gardens often dream of growing this tree because of its delicious fruit and hardy nature. However, sapodilla trees grown directly from seeds can take many years—sometimes over six to eight—before they bear fruit. Fortunately, using stem grafting techniques provides a simple and effective way to speed up the process, allowing gardeners to enjoy fruits much earlier.
In this article, we will explore an easy and fast technique for planting and growing sapodilla bub trees using stem grafts. With the right preparation and care, you can create a thriving sapodilla tree that produces high-quality fruits in just a few years.
Why Choose Stem Grafting for Sapodilla?
Stem grafting is one of the most effective propagation methods for sapodilla. Instead of waiting for a seedling to mature, grafting combines a strong rootstock (a young, hardy sapodilla seedling) with a scion (a branch or stem piece taken from a mature, fruit-bearing sapodilla tree).
The main benefits of grafting include:
- Faster fruiting: Grafted trees bear fruit within 2–3 years, much quicker than seed-grown trees.
- True-to-type fruits: The grafted plant inherits the exact characteristics of the parent tree, ensuring sweet, uniform fruits.
- Disease resistance: Rootstocks selected for strength and resistance improve the overall health of the grafted tree.
- Better adaptability: Grafted sapodilla trees adapt well to different soil and climate conditions.
Step 1: Selecting the Rootstock
The rootstock is the foundation of your sapodilla tree, so choose wisely. Look for a healthy, young sapodilla seedling that is about 6–12 months old, with a stem thickness of at least the size of a pencil.
- The rootstock should be free of pests or diseases.
- Choose a vigorous plant that has grown straight and strong.
- Water it regularly a few days before grafting to ensure it is hydrated and ready for the process.
Step 2: Collecting the Scion
The scion is the stem portion that will produce fruits in the future. To ensure success:
- Collect a healthy, semi-hardwood stem from a mature sapodilla tree that already produces sweet fruits.
- The scion should be about 10–15 cm long, with at least 2–3 buds.
- Avoid very young shoots or old, woody branches.
- Cut the scion early in the morning and keep it moist by wrapping it in a damp cloth until grafting time.
Step 3: Preparing for Stem Grafting
Stem grafting is quite straightforward. Here’s a simple method:
- Make a cut on the rootstock: Select a straight section of the rootstock stem, about 15–20 cm above the soil level. With a sharp knife, make a vertical slit about 3–4 cm deep.
- Prepare the scion: Cut the lower end of the scion into a wedge shape, ensuring both sides are smooth and slanted to fit neatly into the slit of the rootstock.
- Join them together: Insert the scion wedge into the slit of the rootstock so that the cambium layers (the green layer just under the bark) touch as much as possible. This contact is crucial for the graft to heal and grow successfully.
- Secure the graft: Wrap the graft union tightly with grafting tape, plastic strip, or rubber band to prevent moisture loss and hold the scion firmly in place.
Step 4: Post-Grafting Care
Caring for the newly grafted sapodilla is just as important as the graft itself.
- Provide shade: Place the grafted plant in a partially shaded spot for the first 2–3 weeks to reduce stress.
- Water carefully: Keep the soil moist but not waterlogged. Overwatering can cause the rootstock to rot.
- Check for new growth: Within 3–4 weeks, you should notice new shoots emerging from the scion. This indicates the graft is successful.
- Remove unwanted shoots: If new shoots appear below the graft union, remove them so that all energy goes into the scion.
Step 5: Transplanting into the Garden
Once the grafted sapodilla plant is strong and has grown new shoots for at least 3–4 months, it can be transplanted into your garden.
- Choose the right location: Sapodilla trees love full sun, so plant them in a sunny, open space.
- Prepare the soil: The tree thrives in well-drained, sandy loam soil rich in organic matter. Dig a hole about 60 cm wide and deep, and fill it with compost and topsoil.
- Plant carefully: Place the grafted plant in the hole, ensuring the graft union is above ground level. Firm the soil gently around the roots and water well.
Long-Term Care for Sapodilla Bub Trees
- Watering: Young trees should be watered regularly, especially in dry weather. Mature trees are drought-tolerant but still benefit from occasional watering.
- Fertilizing: Feed the tree with organic compost or balanced fertilizer three times a year to encourage strong growth and fruiting.
- Pruning: Prune lightly to remove dead or crossing branches and to maintain a strong canopy.
- Pest management: Sapodilla is generally hardy but keep an eye out for mealybugs and scale insects. Neem oil spray or organic solutions work well for control.
Harvesting the Sweet Reward
With good care, your grafted sapodilla tree will start bearing fruit within 2–3 years. The fruits are ready to harvest when their skin turns slightly brown and they become softer to touch. Always allow the fruit to ripen off the tree for the best flavor.
Conclusion
Growing sapodilla bub trees with stem grafting is a rewarding technique that saves time and guarantees delicious results. Instead of waiting many years for seed-grown trees, grafting allows you to enjoy sweet, high-quality sapodilla fruits much faster. With just a little patience and care, families can have a thriving tree in their garden, producing healthy and tasty fruits for generations.
By following these easy and fast grafting methods, anyone can successfully plant and grow sapodilla bub trees at home—and enjoy the rich rewards of this tropical treasure.