New Method of How to Plant and Grow Tomato Plants from Fruit
Tomatoes are among the most popular and widely grown vegetables (technically fruits) around the world. They are essential in many cuisines, easy to cultivate, and adaptable to both gardens and pots. Traditionally, gardeners propagate tomato plants using seeds bought from a store or saved after drying. However, a new and simple method has gained popularity: planting and growing tomato plants directly from fresh fruit. This method is cost-effective, requires very little effort, and can be done by anyone at home—even those without gardening experience.
In this article, we will explore a step-by-step guide to this new method, along with helpful tips to ensure your tomato plants grow healthy and produce abundant fruit.
Why Grow Tomatoes from Fresh Fruit?
Most people think that the only way to grow tomatoes is by buying seed packets or seedlings. While this is common, using fresh fruit offers several advantages:
- Cost-saving: No need to buy seeds—just use ripe tomatoes you already have at home.
- Organic gardening: You can choose chemical-free fruits and propagate your own organic plants.
- Higher germination rate: Seeds inside fresh fruit are moist and viable, which can improve sprouting.
- Convenience: No drying or storing of seeds is necessary.
- Experimentation: You can try planting different tomato varieties from market or homegrown fruits.
This method is especially useful for home gardeners who want quick results without complicated preparation.
Materials Needed
Before starting, gather these simple materials:
- Ripe tomato fruit (choose healthy, disease-free ones)
- A sharp knife
- Small containers or seedling trays
- Potting soil or garden soil mixed with compost
- Watering can or spray bottle
- Plastic wrap or a clear cover (optional)
- A sunny location or grow lights
Step-by-Step Process
1. Choosing the Right Tomato Fruit
Pick a ripe, healthy tomato that is free from rot or disease. The seeds inside should be fully developed, which is why fully ripened fruits are best. Avoid overripe tomatoes that are mushy, as they may contain weak seeds.
2. Cutting the Tomato
Slice the tomato into thin, round pieces about 1 centimeter thick. Each slice will contain multiple seeds surrounded by pulp. These slices are what you will plant directly in the soil.
3. Preparing the Soil
Fill small pots, seedling trays, or containers with well-draining soil. A mix of garden soil, compost, and sand works well. If using pots, make sure they have drainage holes to prevent waterlogging.
4. Planting the Tomato Slices
Lay one or two tomato slices flat on the soil surface. Cover them lightly with a thin layer of soil, about 1–2 centimeters deep. Do not bury them too deep, as this may prevent the seeds from sprouting.
5. Watering the Seeds
Water gently using a spray bottle or a light stream to moisten the soil. Avoid overwatering, which can rot the seeds. Keep the soil consistently moist but not soggy.
6. Creating a Mini Greenhouse (Optional)
For faster germination, you can cover the container with plastic wrap or a clear lid to retain moisture and warmth. Remove the cover once seedlings appear to prevent mold growth.
7. Providing Sunlight
Place the containers in a warm spot with at least 6–8 hours of sunlight per day. If growing indoors, position them near a sunny window or use grow lights. Warmth and light are essential for strong seedling development.
8. Thinning the Seedlings
Within 1–2 weeks, you’ll notice multiple seedlings sprouting from the tomato slices. Once they grow to about 5–7 centimeters tall, thin them out by snipping weaker seedlings at the base. Keep the healthiest ones to continue growing.
9. Transplanting the Seedlings
When the seedlings reach 15–20 centimeters tall and develop strong roots, they are ready to be transplanted into larger pots or directly into the garden. Plant them deeper than they were in the container, burying part of the stem, as tomato stems can grow additional roots. This encourages stronger plants.
10. Caring for the Tomato Plants
- Watering: Keep the soil evenly moist, especially during flowering and fruiting.
- Fertilizing: Use compost tea, organic fertilizer, or balanced NPK fertilizer every two weeks.
- Staking or caging: Support the plants with stakes or cages to keep them upright.
- Pruning: Remove lower leaves and suckers (side shoots) to encourage better airflow and fruiting.
- Pest control: Watch out for aphids, whiteflies, and caterpillars. Use natural remedies like neem oil or homemade garlic spray if needed.
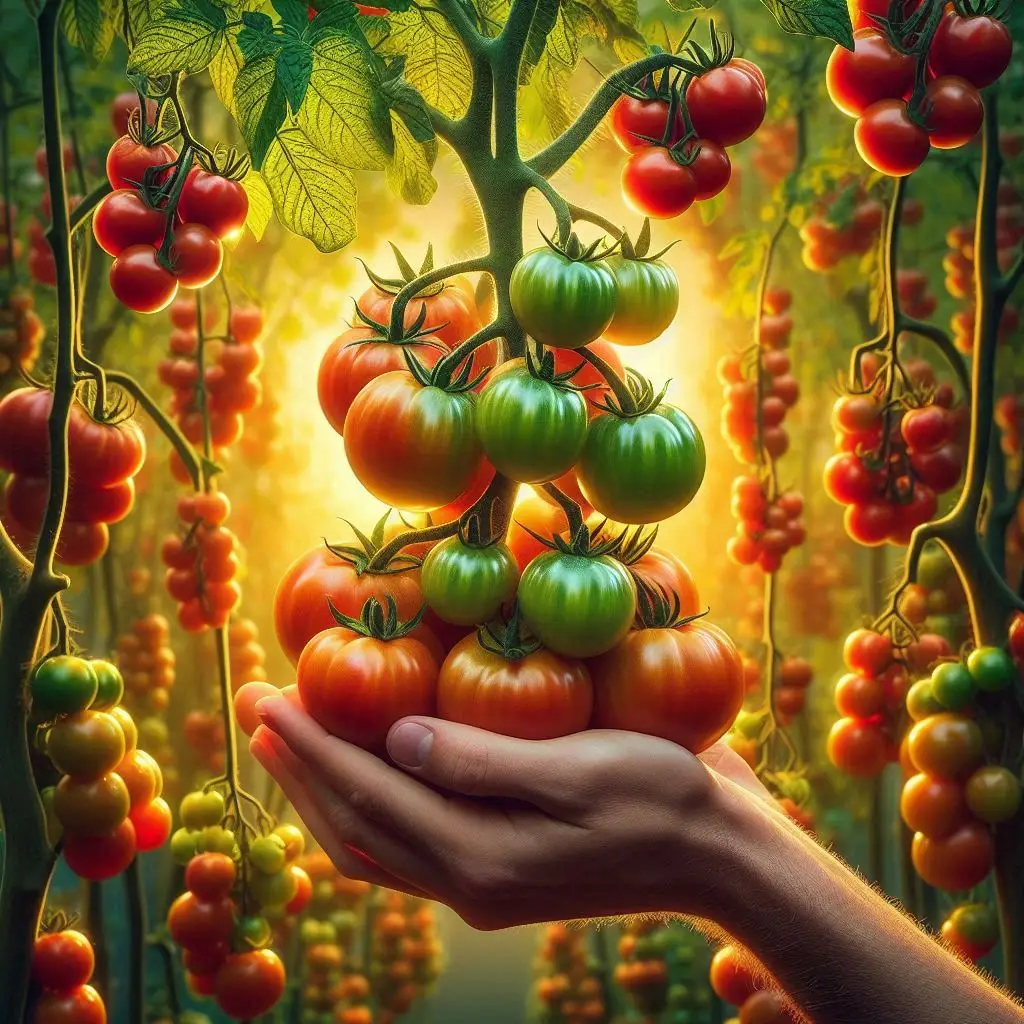
Harvesting Tomatoes
Depending on the variety, tomatoes take around 60–90 days from transplanting to produce mature fruits. Harvest when they turn red, yellow, or orange (depending on the type). Gently twist or cut the fruit to avoid damaging the plant.
Advantages of This New Method
- Beginner-friendly: Requires no special skills—just slice, plant, and water.
- Time-saving: No seed extraction, drying, or special preparation needed.
- High yield: Each tomato slice can produce multiple seedlings, giving you several plants from one fruit.
- Fun and educational: A great activity for families and children to learn about plant life cycles.
Final Thoughts
Planting and growing tomato plants directly from fruit slices is a simple, effective, and innovative method that anyone can try. With minimal tools and effort, you can transform a kitchen tomato into a thriving plant that produces fresh, delicious fruits. Whether you have a backyard garden, balcony pots, or even a small indoor setup, this method allows you to enjoy homegrown tomatoes without relying on purchased seeds.
If you’re looking for a new gardening experiment that is rewarding and easy, give this method a try. Soon, you’ll have your own supply of juicy tomatoes growing right from the fruit you once sliced for a salad or sandwich.