How to Grow Ladyfingers at Home Gardening Tips
Ladyfingers, also known as okra or “bhindi,” is a popular warm-season vegetable grown in many tropical and subtropical regions. It is highly nutritious, rich in vitamins A, C, K, fiber, and folate. Growing ladyfingers at home is not only rewarding but also very easy, even for beginners in gardening. With the right conditions, the plant grows fast and gives you plenty of fresh green pods to harvest for your daily meals. In this article, you will learn the step-by-step techniques and useful tips for successfully growing ladyfingers in your backyard, balcony, or home garden.
Choose the Right Variety
Before planting, select a ladyfinger variety suitable for your local climate. Some popular and productive varieties include Clemson Spineless, Annie Oakley, and Emerald. If you are planting in pots or small containers, choose dwarf or compact varieties that do not grow too tall. You can buy seeds from garden stores or extract seeds from mature ladyfinger pods at home.
Understand the Growing Conditions
Ladyfingers thrive in warm and sunny environments. The ideal growing temperature is between 24°C to 35°C. The plant requires at least 6–8 hours of direct sunlight every day. Since it is a warm-loving crop, avoid planting during cold or rainy seasons in cooler climates. In tropical areas, such as Southeast Asia, you can grow them almost all year round, but the best time is during the dry season.
Ladyfingers grow best in well-drained, fertile soil rich in organic matter. Slightly acidic to neutral soil (pH 6.0-7.0) is ideal. You can improve soil fertility by mixing compost, cow manure, or decomposed leaves before planting.
How to Plant Ladyfingers at Home
You can plant ladyfingers directly by seeds in the garden or in pots. Follow these steps:
- Prepare the seeds – To speed up germination, soak seeds in water for 12–18 hours before planting. This softens the outer seed coat.
- Prepare the soil – Loosen the soil to improve air and water movement. Mix in organic fertilizer or compost.
- Planting depth – Sow seeds 2–3 cm deep into the soil.
- Spacing – Keep each plant at least 30–40 cm apart if planting in beds. For containers, choose pots that are 5 gallons or larger with good drainage holes.
- Watering – Water immediately after sowing and keep the soil moist until seeds germinate.
Seeds usually germinate within 5–10 days depending on weather conditions.
Caring for Ladyfinger Plants
Once the plants start growing, they require good care to produce a strong yield.
1. Watering
Ladyfingers need regular watering, especially during the first few weeks. Water them 2–3 times a week or when the soil feels dry. However, avoid waterlogging because too much moisture can cause root rot.
2. Weeding
Remove weeds regularly around the plants. Weeds compete with the ladyfingers for nutrients, light, and water.
3. Fertilizing
After 3–4 weeks of planting, apply organic fertilizer such as compost tea or cow manure around the base of the plant. You can also add a small amount of nitrogen-rich fertilizer to encourage healthy leaf and pod growth.
4. Support for growth
Some varieties of ladyfingers grow tall. If plants become heavy, you may provide stakes to support them from falling over during wind or heavy rain.
Pest and Disease Control
Ladyfingers are generally hardy plants but can sometimes suffer from pests like aphids, whiteflies, and fruit borers. To control pests naturally:
- Spray neem oil mixed with water once a week.
- Use garlic or chili spray as a natural insect repellent.
- Regularly inspect leaves and remove pest-affected parts.
Diseases like powdery mildew or root rot may appear if humidity is too high. Ensure good air circulation and avoid watering on the leaves.
Flowering and Fruit Production
Ladyfingers begin to flower within 6–8 weeks after planting. The flowers are yellow and beautiful, and each flower turns into a fresh pod within a few days. It is important to harvest frequently to encourage the plant to produce more pods.
Harvesting Tips
Harvest the pods when they are 8–10 cm long and still tender. Young pods taste the best and cook easily. If pods become too long or hard, leave them to produce seeds for the next planting season. Use pruning scissors or gently twist the pods to avoid damaging the stems.
Always harvest every 1–2 days during the peak fruiting season. The more you harvest, the more new fruits will grow.
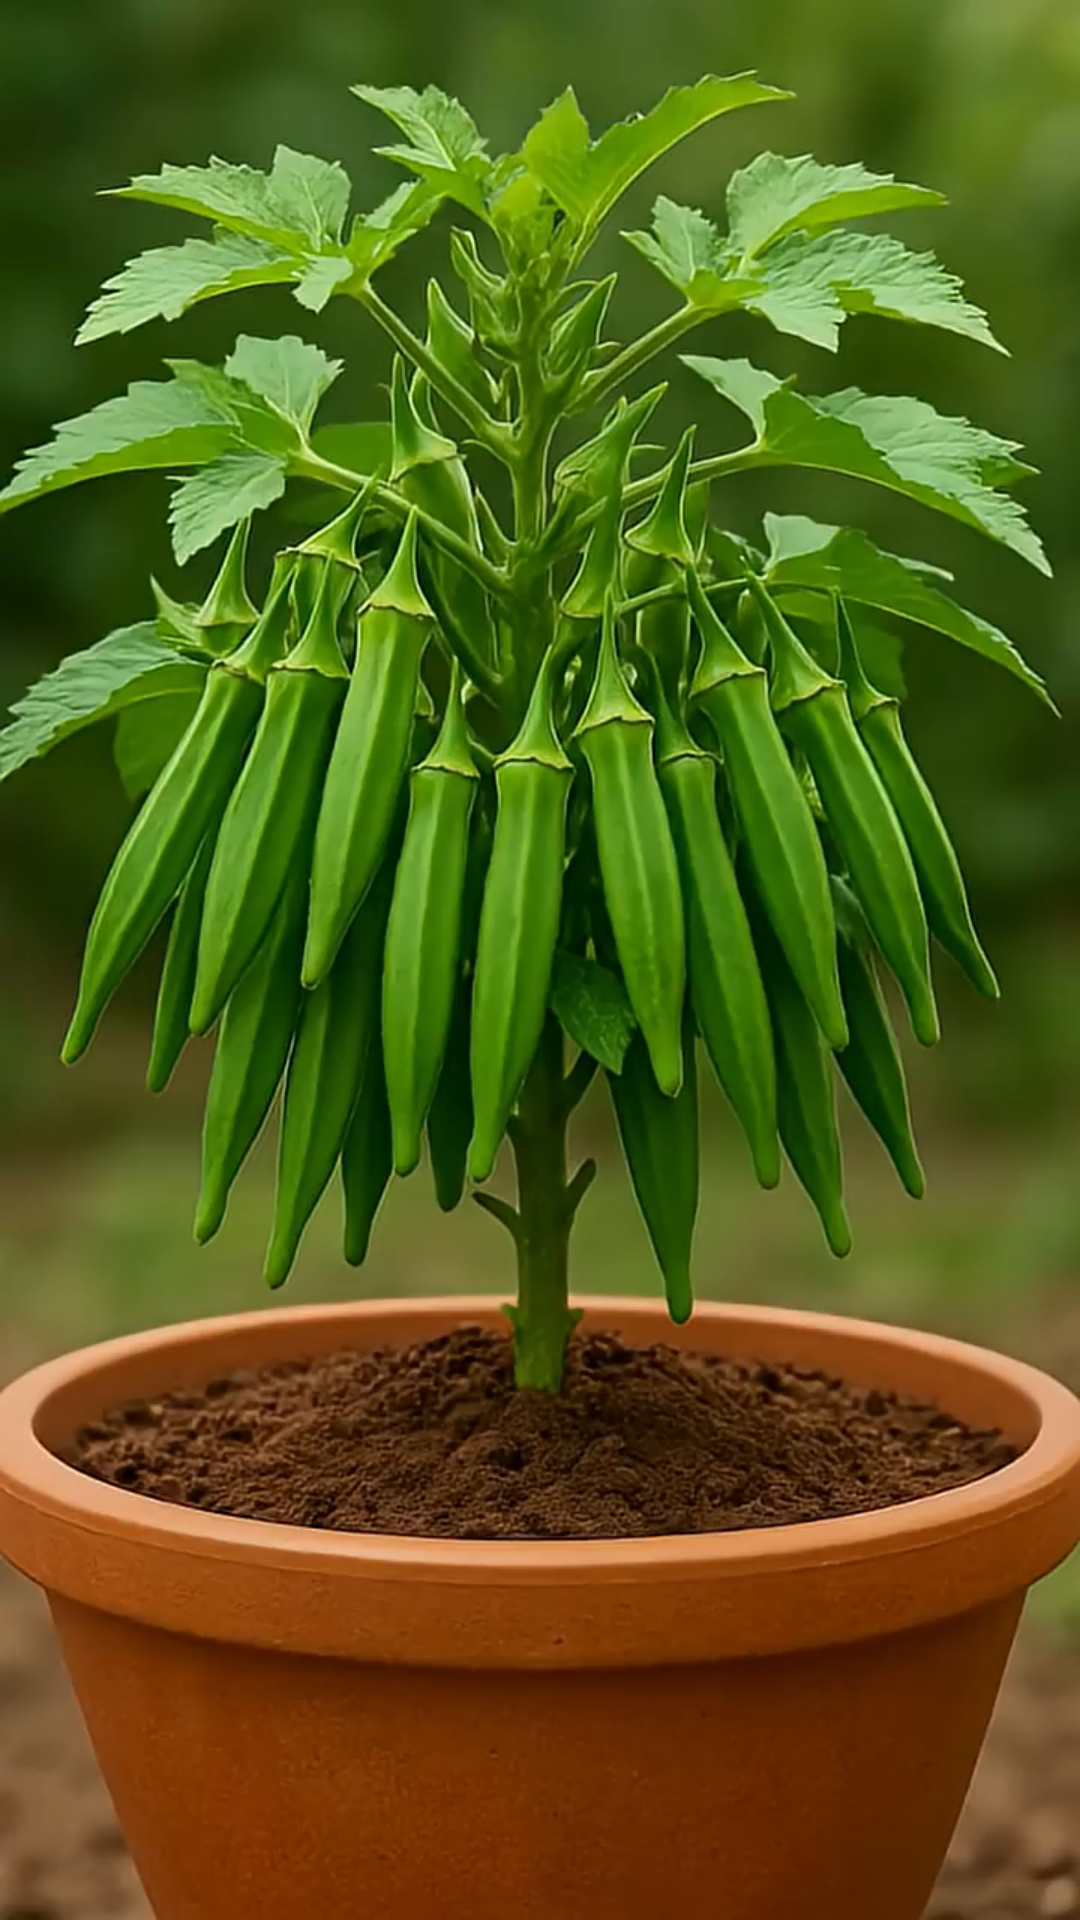
Growing Ladyfingers in Containers
If you have limited space or live in an apartment, growing ladyfingers in pots is a great choice. Ensure the pot has:
- Adequate size (at least 30 cm or more in depth)
- High-quality well-drained soil
- Full sunlight exposure
Water and fertilize regularly because container soil dries faster than ground soil.
Conclusion
Growing ladyfingers at home is simple, enjoyable, and highly productive. With just a little care—warm sunlight, proper watering, regular harvesting—you can enjoy healthy and delicious homegrown okra from your own garden. Whether you grow them in pots, balconies, or in your backyard, ladyfingers can provide a continuous supply of fresh vegetables for your family. Start planting today and experience the joy of gardening right at home!